Don’t use plain buttons for your next project! Making fabric covered buttons is one on the quickest projects I’ve done and I never seem to get bored with it!
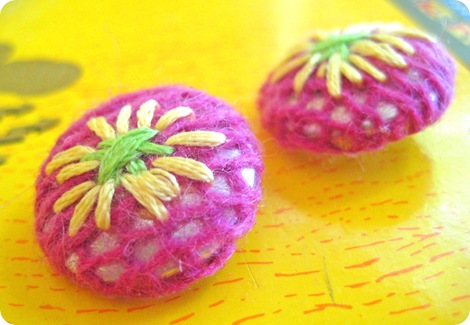
These buttons are perfect for those fabric scraps you’ve been stashing in the closet. You can even upcycle an unwanted sweater with snazzy embroidered flowers and create unique buttons to add to your bag, bracelet or sweater.
A few years ago when I first started making fabric covered buttons I couldn’t find a tutorial on how to do it, so I thought I share this little tidbit of knowledge with all of you.
This is one of those simple projects that gives back sooo much satisfaction when you finish. Please don’t blame me for your new button making addiction, okay?!
You’ll need a few things…
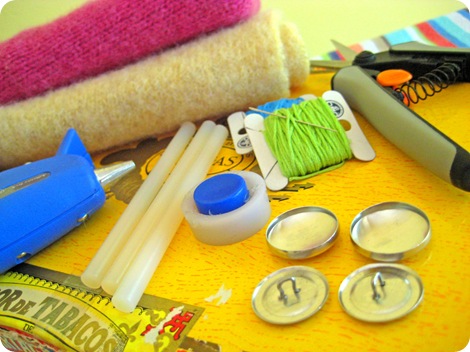
- These are size 45 buttons…get a bunch. {1 1/8”}
- When you purchase a button kit, you’ll get a button making tool…you’ll need it. I can’t imagine trying to make them without the tool.
- old sweaters or fabric
- loaded glue gun
- scissors {these are my amazingly cool scissors}
- embroidery floss
- embroidery needle
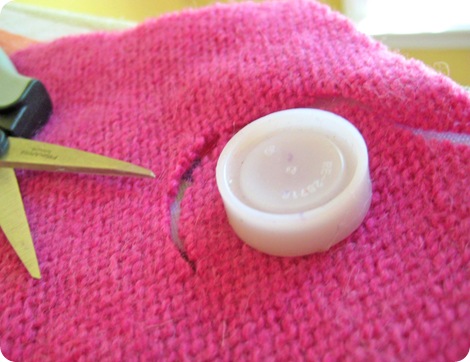
Take the larger, white part of the tool and place it on your fabric. Cut a wide circle around it. It doesn’t have to be perfect…at least that the way I do it. There are little people that will give you little templates to use, but this is the fastest way… a.k.a. my way. 🙂
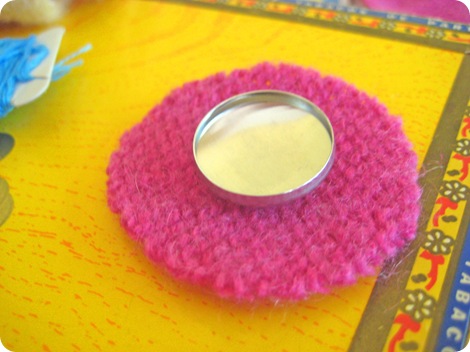
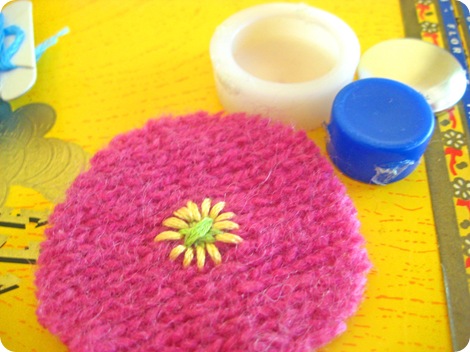
Once you have your circle, place the top of your button on there to check for placement of your embroidered flower. This also gives you a visual idea of how small your embroidered flower needs to be…pretty small, huh?
The wool blend sweater I’m working with will stretch, so this is what it looks like before I start.
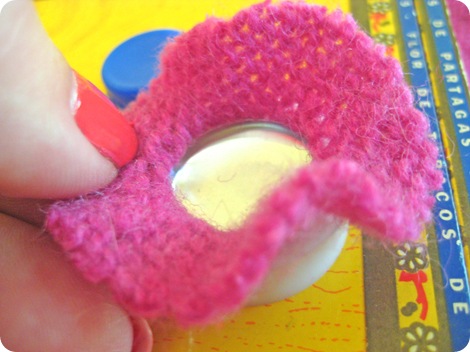
Put your design face down with the top button on…well, the top. Then center and push it into the white part of your tool.
This size button works easily, but smaller buttons will require the use of the blue pusher part of the tool…I use such sophisticated names, don’t I?
Depending on the colors and design, sometimes I can peek at the bottom and tell if it’s centered. Most of the times it is….but not always. Just pull the button top back out and yell “do over” and center it right this time.
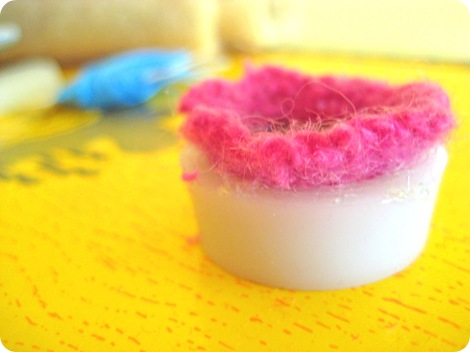
Here’s the tricky part…trimming. Trim away extra fabric while leaving enough to fold down into the button. Thicker material like this sweater are much harder than regular cotton fabrics. I would suggest using cotton for your first couple buttons until you get the hang of it.
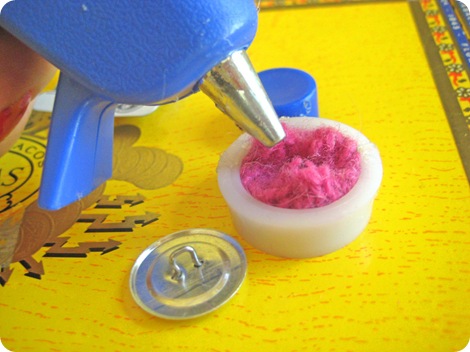
I add a couple drops of hot glue. I don’t know if I really need to, but it makes me feel better. You could also use a dab of E6000 craft glue…it’s up to you.
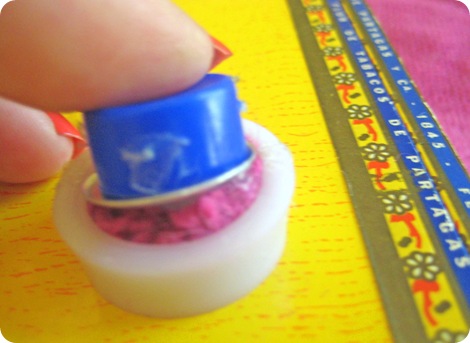
Now, just fold the fabric in and scrunch it down with the back of the button and your blue tool…make a sandwich.
Use caution because of the hot glue you added…remember that? Well, you will remember as soon as your finger touches it and it sticks to you.
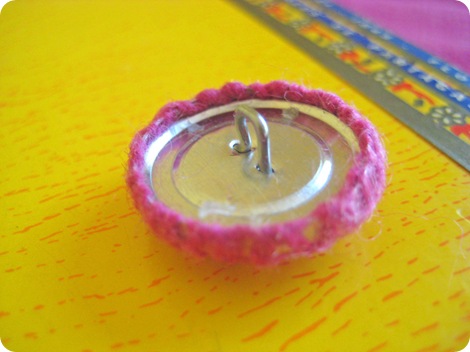
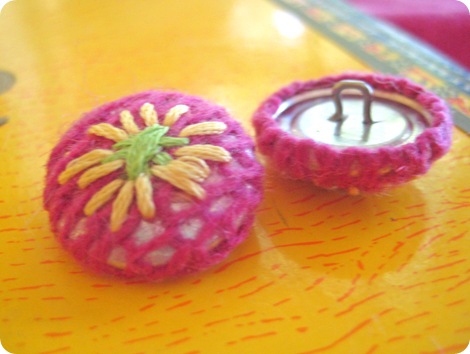
Push down evenly until you hear the button pop into place. You made a fabric covered button!
Oh my, look at how talented and crafty you are today! Just make sure you don’t have fabric sticking up along the edges. It should all be locked down under the back of the button for a finished look.
Now, start thinking of all the places you can use these fabulous new buttons. They make great accessories and fabulous gifts. Have fun!
If you have any questions, just email me.
I’d love to hear about any button projects you’ve made or plan to make…come on, share your ideas with us. 🙂
~Kim
Note: These buttons are a bit on the unusual side because you can see the silver shine through. I thought it would be fun to try that out, but you can see what cotton fabric looks like here. It covers it perfectly.
Be sure to check out the comments for some great tips!
I’ve been making covered buttons for years and you don’t need glue at all. Promise. 🙂
If you don’t want the silver to show through, you can also line your button with a lightweight piece of fabric.
Also, you can use a spool of thread on top of the blue tool to push the button shank on evenly.
Thanks for the tutorial. I had heard they are fun to do. I have something else to add to my ever growing list of things to do! And Tammy, thanks for the extra tips!
I like!!!!! Thank you for sticking to ‘sophisticated’ names otherwise I would have no idea what you were talking about :giggle:
~May burn self on hot glue~
hmm note to self adult supervision required 😉
Sooo, you attach the button to a ponytail holder rubber band thing?? Sort of missed that part.
And seriously, I have yet to meet a glue gun that I didn’t get burned on – ouch!
I have a mountain of fun scraps. This looks like fun. Thanks for posting.
LeAnn
Button addiction??????? HAHAHA!!!!!
Those buttons are adorable! So anthropology looking!
Cute tutorial!! You go girl! lol<3
I love making buttons! So much fun 🙂
Super cool!
yay! one more thing to add to my ever growing to-do list! thanks kim!
After saw your way for make button. i think it is very simple and easy way to do this. Thanks for sharing this way.
Fabulous tutorial and yes I love your technical names for the tools because at least I know what you’re talking about!
Thanks for the button tutorial! My question for you is… how do you glue? a metal button to a metal bobby pin??? I have the toughest time getting metal to attach to metal?? I hope you can help! 🙂 Thanks
Hi Kim
Thank you for this tutorial. Covered buttons are cool gives excellent details to the projects and it lookes simple to make it. I cannot wait to try it.
Edith
Love the idea of adding a touch of embroidery. Just found your tutorial, mostly because I have a new, but fast growing, addiction to buttons. Thanks!
Help! I am trying to make fabric buttons but it does not work. The material I am using is pretty thick (faux leather/upholstery vinyl).
You really can’t use thick fabric. Let me know if you find a way!
~Kim