Got Dry Skin??
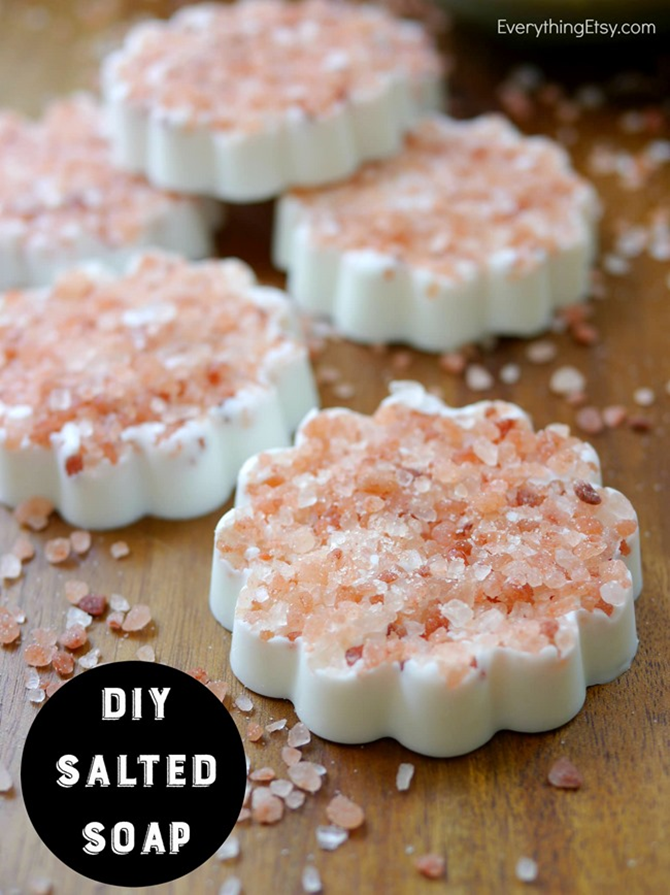
This is the perfect DIY Salted Soap for your dry winter skin…trust me!
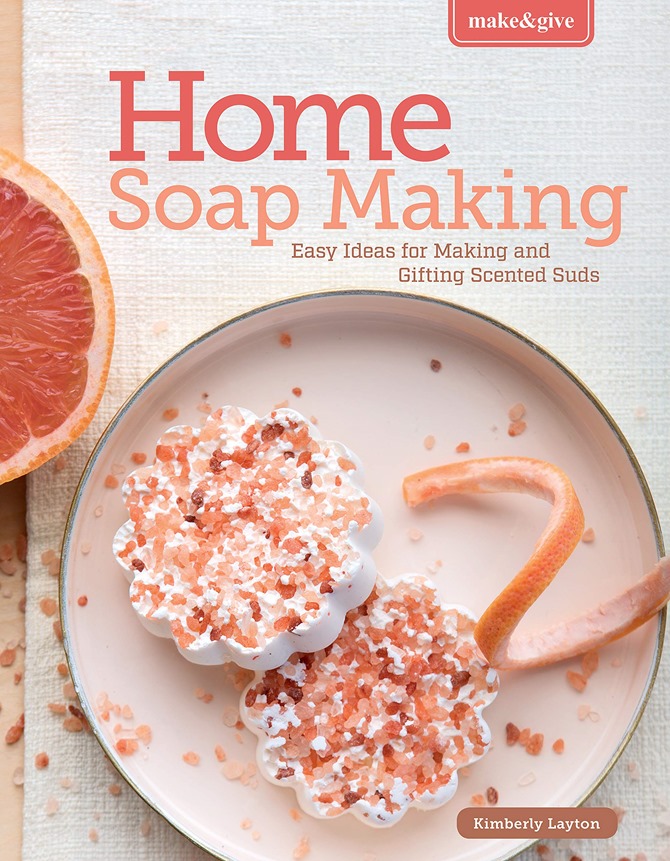
I made this soap awhile back and it’s featured in my new Handmade Soap Book on Amazon. Well, I wish I could give some to all of you to try. It really is the perfect soap to exfoliate your feet and elbows. Then, the moisture-rich soap base brings life back to that wintery skin….ahhhh! It’s a good thing!
Click here to see all the soap recipes available in my new book!
Go ahead and order a copy for yourself, but here’s this DIY Salted Soap recipe to give your skin a little spa treatment right now!
Gather up a few supplies…
- Shea Butter Glycerine Soap Melt & Pour
- Himalayan Sea Salt
- Grapefruit doTERRA Essential Oil
- Soap Molds
I’ve included the Amazon links above to make your shopping easier. {just click on the supply you want} I plan out most of my projects this way and get it all deliver right to my door…love it. It also helps you to see what products I used.
I used a course Himalayan Sea Salt, but you can easily find it ground up really fine. I just like the way the chunky salt looks.
You can use your favorite essential oil! Lavender is great for relaxation, Citrus will lighten your mood and Peppermint will invigorate. I used Grapefruit because it just smells like sunshine an summer to me.
Time to make them!
You can use any size mold you wish, so I’m going to explain how to make them by the cup.
Start with a cup of your melt & pour soap {This soap is very white, which I love!} and cut it into chunks. Add it to a large glass measuring cup or bowl.
Microwave it on high for 30 seconds. Then stir. Repeat this until it’s melted completely. Do not go more than 30 seconds at a time.
Add 5-6 drops of essential oil to it and stir. You can add less, but I like the scent strong. Start with 3-4 drops for a light scent.
Pour a thick layer of Himalayan Sea Salt in the bottom of each mold.
Then very gently drizzle a little soap mixture in each one. I like to add just a thin layer of soap on the bottom of 6 or so, and then go back to the first one to pour it to the top of the mold. The thin layer starts to harden and it seems to help keep the salt in place a bit more.
Move them to the refrigerator for 30-60 minutes depending on the size of the mold. You want it to harden enough to pop out of the mold easily.
Pop out all the soap on a piece of wax paper or tray. Sprinkle a bit more salt on the top to fill in any spots that are empty. You can push slightly at this point to make the salt more secure.
You can use them in a couple hours, but I let them sit overnight before wrapping them up.
It’s super easy and I can’t get over how beautiful they look! Have fun making them, and I’d be happy to answer any questions in the comments below.
—————————————————————
Have fun!
~Kim

This sounds like such a nice treat for my dry skin. I love the quality ingredients and knowing what is in the product I am using. Thanks for the recipe!
Winter can be a tough season for our skin, with cold winds and dry indoor heat affecting its natural moisture. That’s why this DIY soap is a lifesaver for winter skin.
Water Heater Installation Experts in Surprise AZ