Vanessa from Punkin Patterns created a Sweet Tooth Pouch that’s SUPER CUTE! I want one! They make great gifts for kids of all ages and once you see this wonderful tutorial you’ll be running to the store to buy a bag full of candy.
Here’s Vanessa…
")
We don’t normally have a lot of candy in the house. Well, the Halloween candy (at least nothing with chocolate – because that’s all eaten within hours) is still in a jar in the kitchen cupboard. This little project was inspired by my son who asks for candy from the brightly colored packages at the checkout at Target.
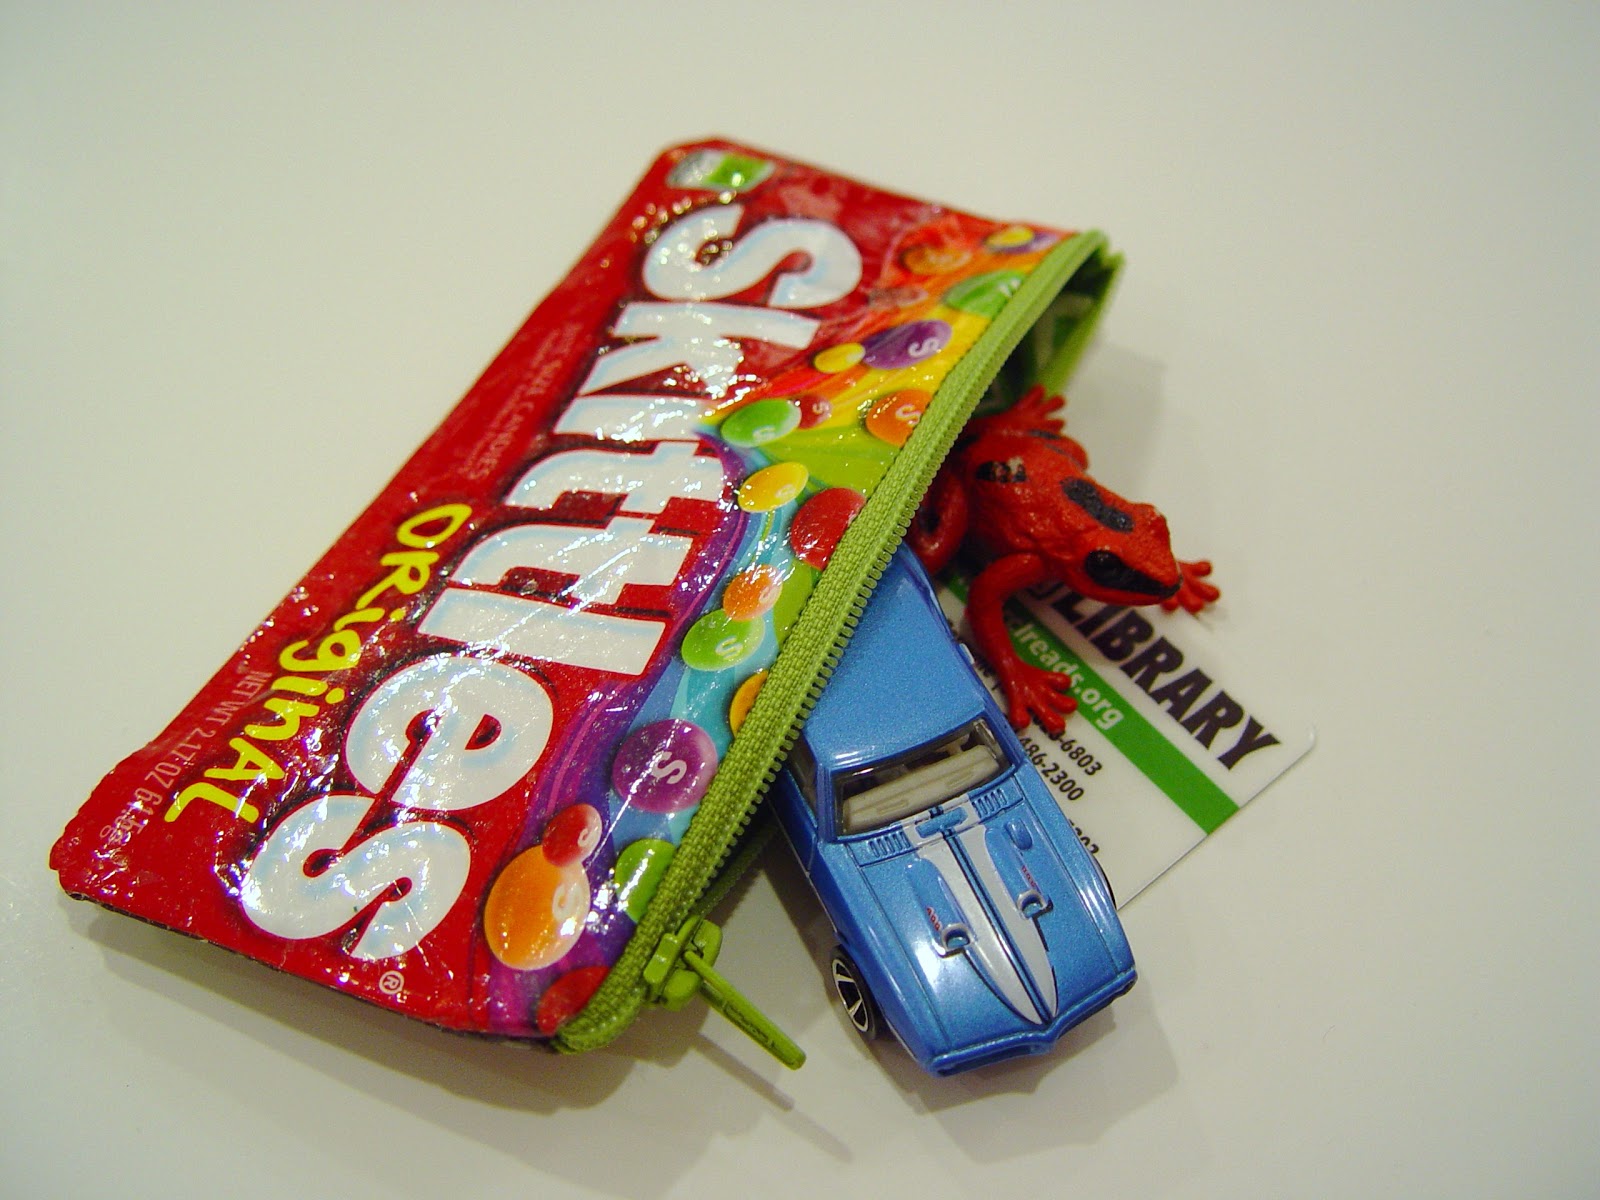
So, here’s a little “sweet tooth” pouch.
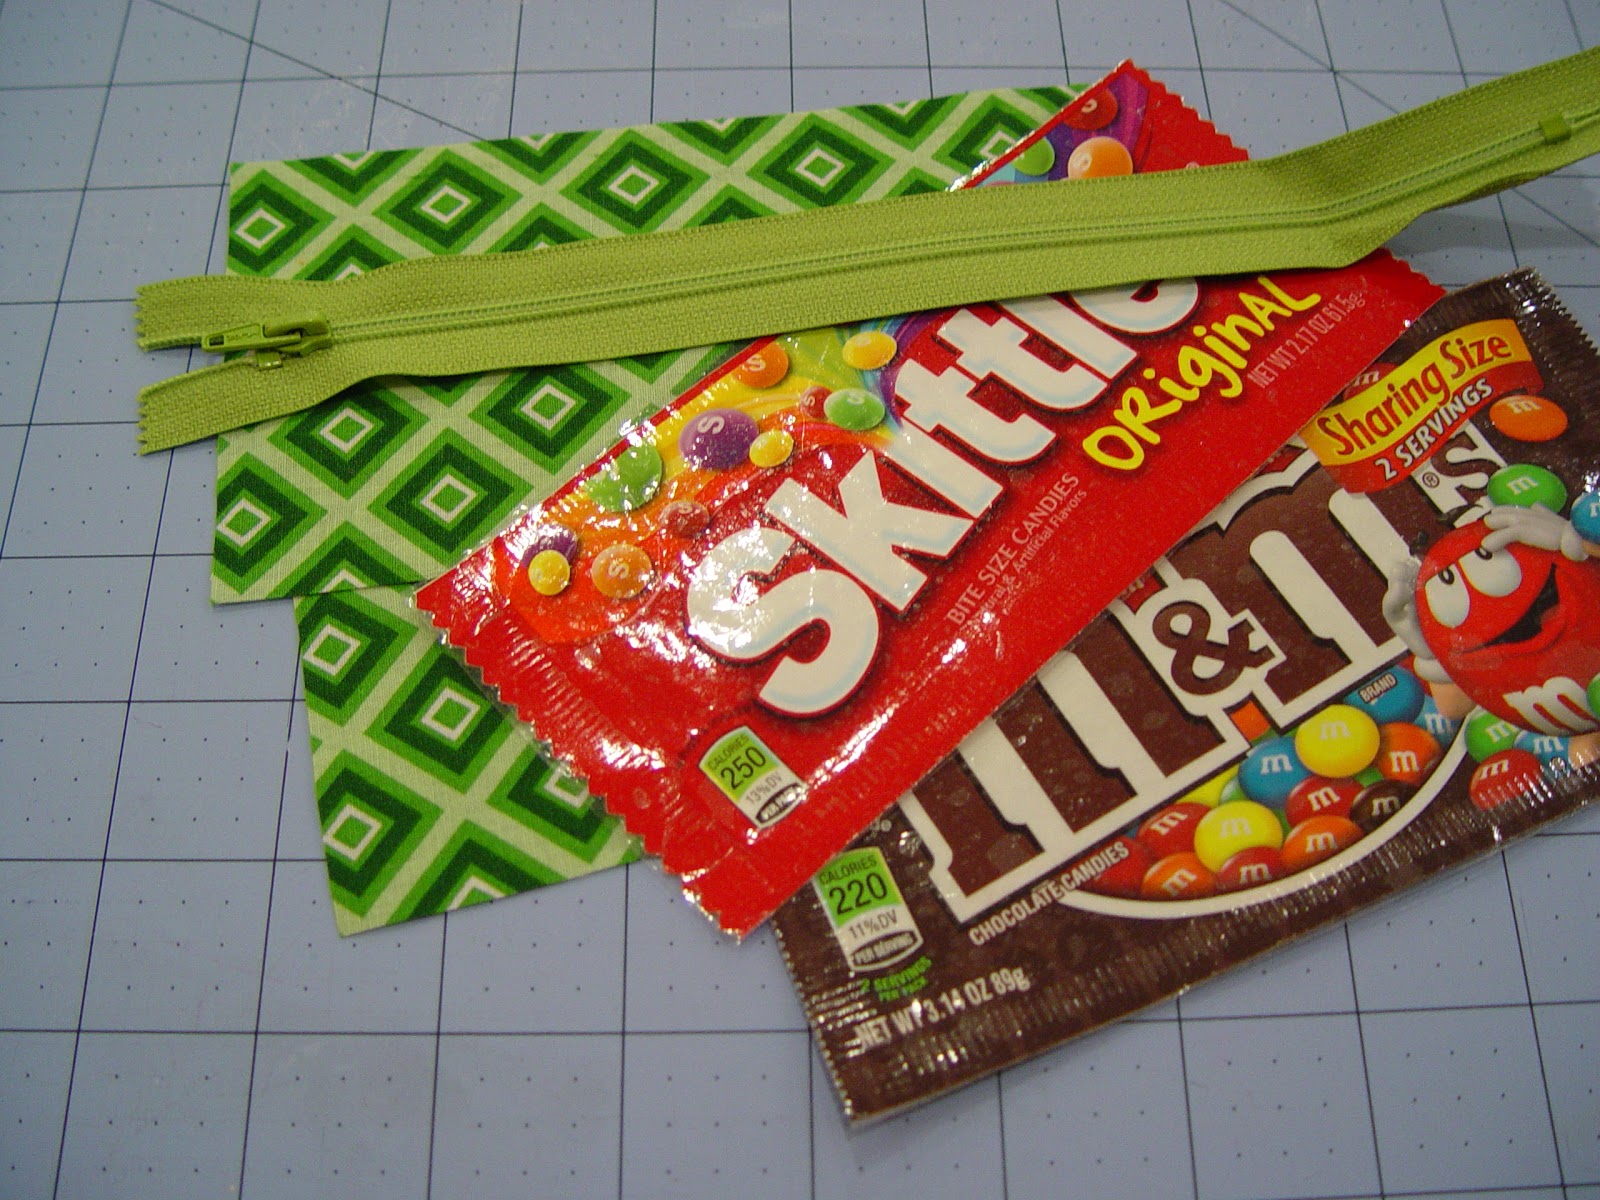
You’ll need two candy pouches – I used skittles and M&Ms. You could use candy bars too (you just might need more than one per side to make it a bit bigger).
You’ll also need:
- iron-on vinyl
- a zipper (7 – 9″ works well)
- two pieces of fabric for lining (each should be the size of your candy wrapper).
- thread, sewing machine, zipper foot, iron, X-acto knife
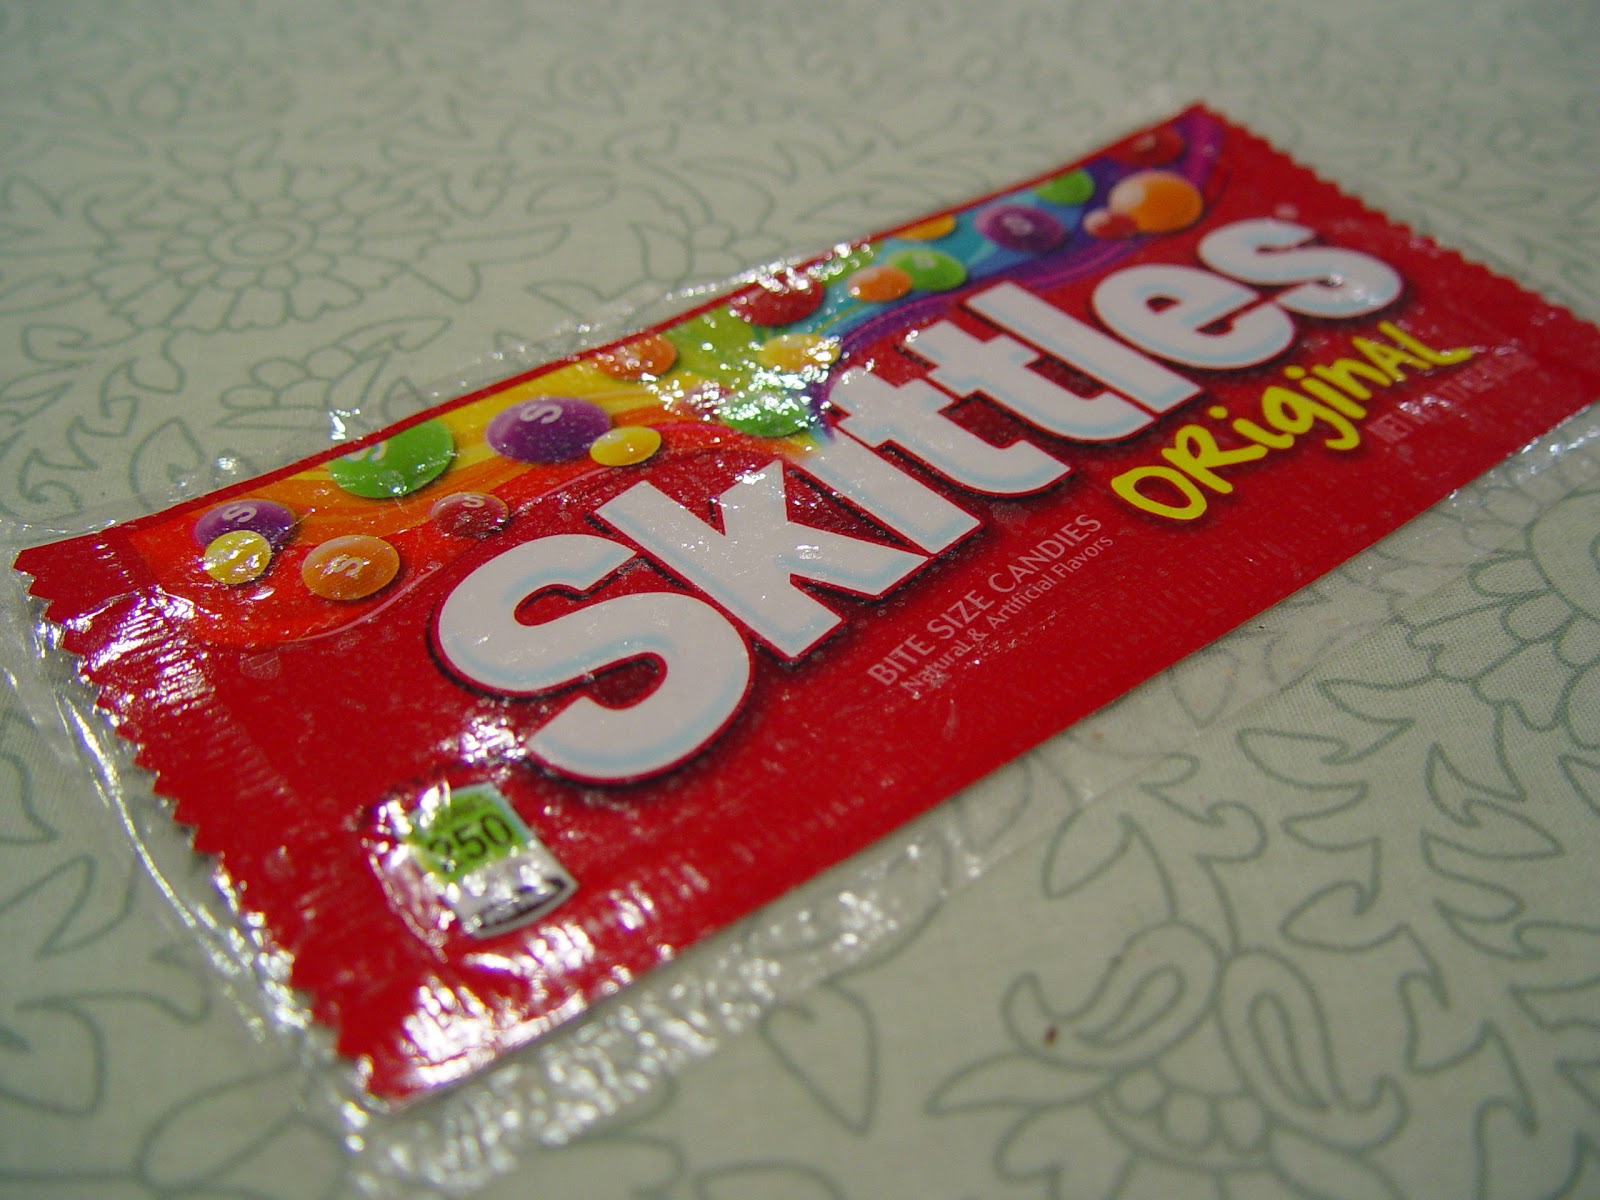
First, we’ll put the vinyl onto our candy wrappers. Carefully remove the back of the candy wrapper leaving the top piece fully intact.

Cut two pieces of vinyl slightly larger than the wrapper. Peel off the paper backing and stick to the front of the wrapper, smoothing out with your fingers.

Using a clean rag (or ironing cloth), iron the vinyl for 8-10 seconds on medium heat. Repeat for the other side. Trim any excess vinyl. Repeat for the other wrapper.

Now that you have your wrappers covered in vinyl, we’ll assemble the pouch.
Place your lining fabric right side up and then place the zipper on top matching the edges. Zipper should be facing up, as in the photo.

Place the wrapper on top (right side down).

Increase your stitch length and using a zipper foot, sew along the length of the zipper.

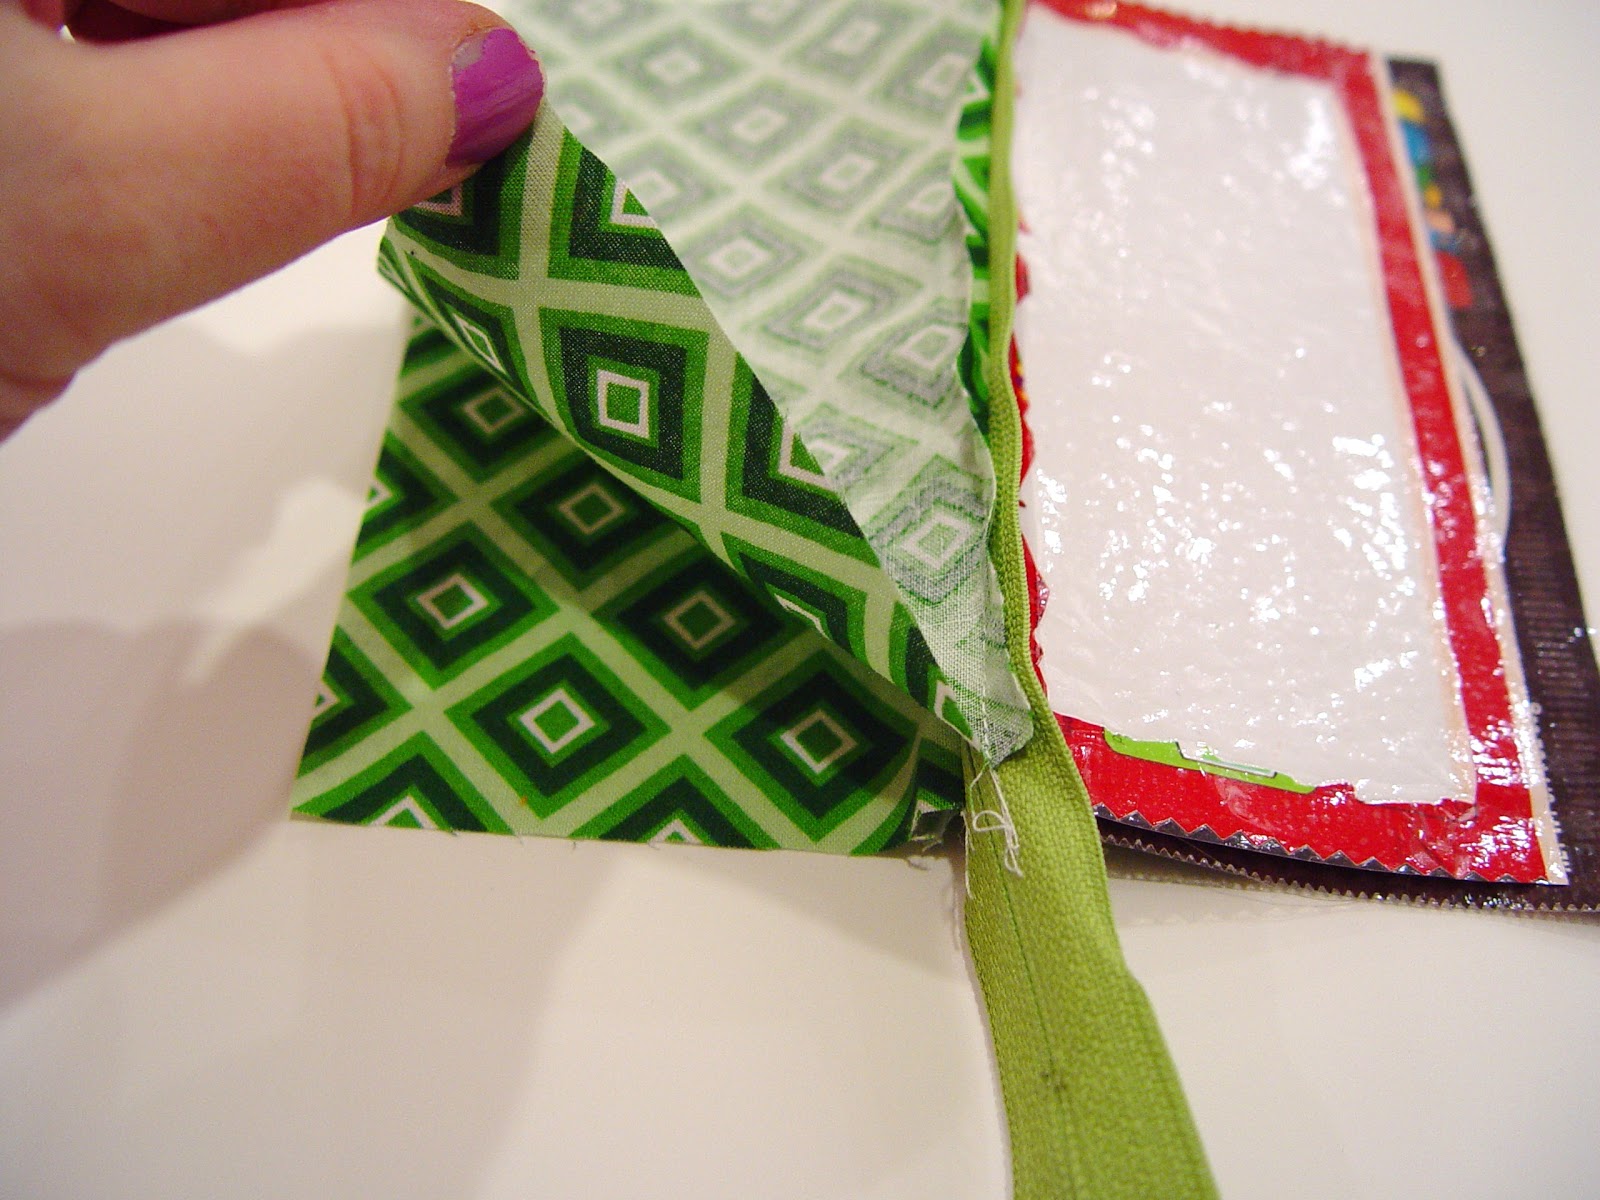
Fold over the front and lining (so wrong sides are now touching) and add the other piece of lining and wrapper to the other side of the zipper.
Now the top looks like this:

and the other side looks like this:
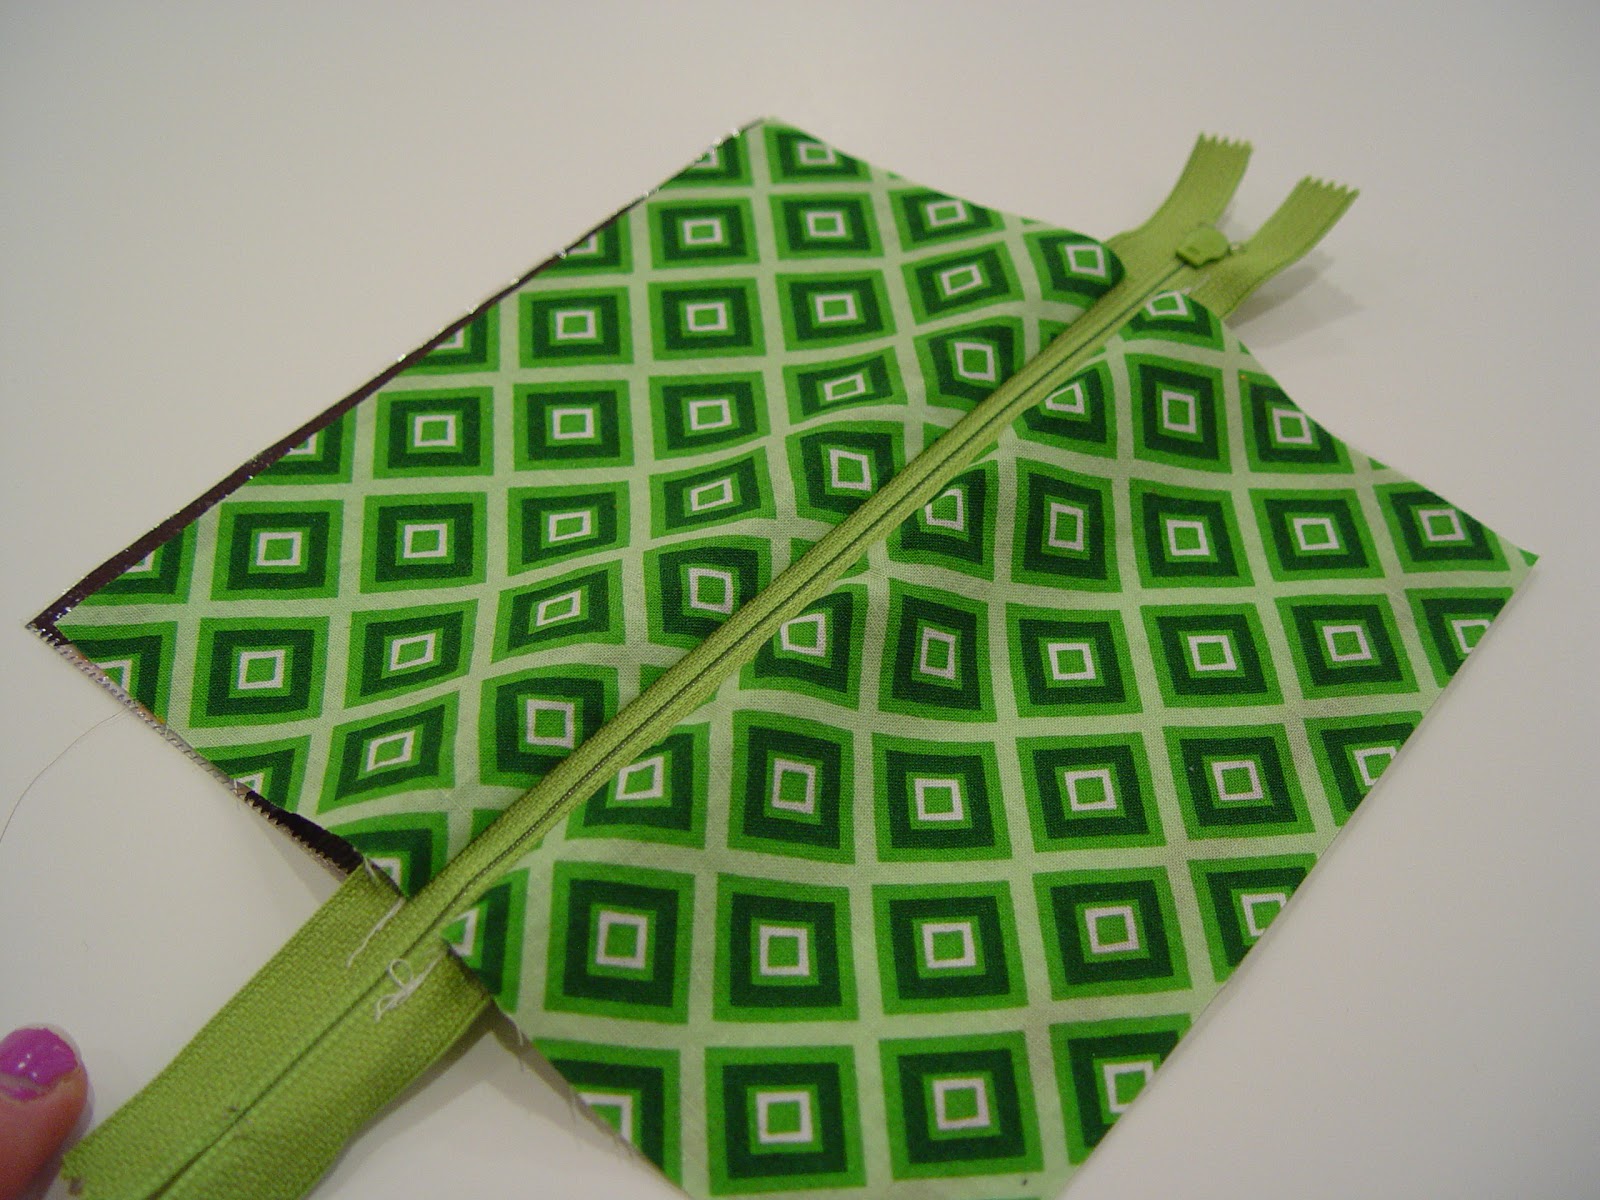
Now fold the bag so the the lining is touching and the wrappers are touching (right sides together) like this:
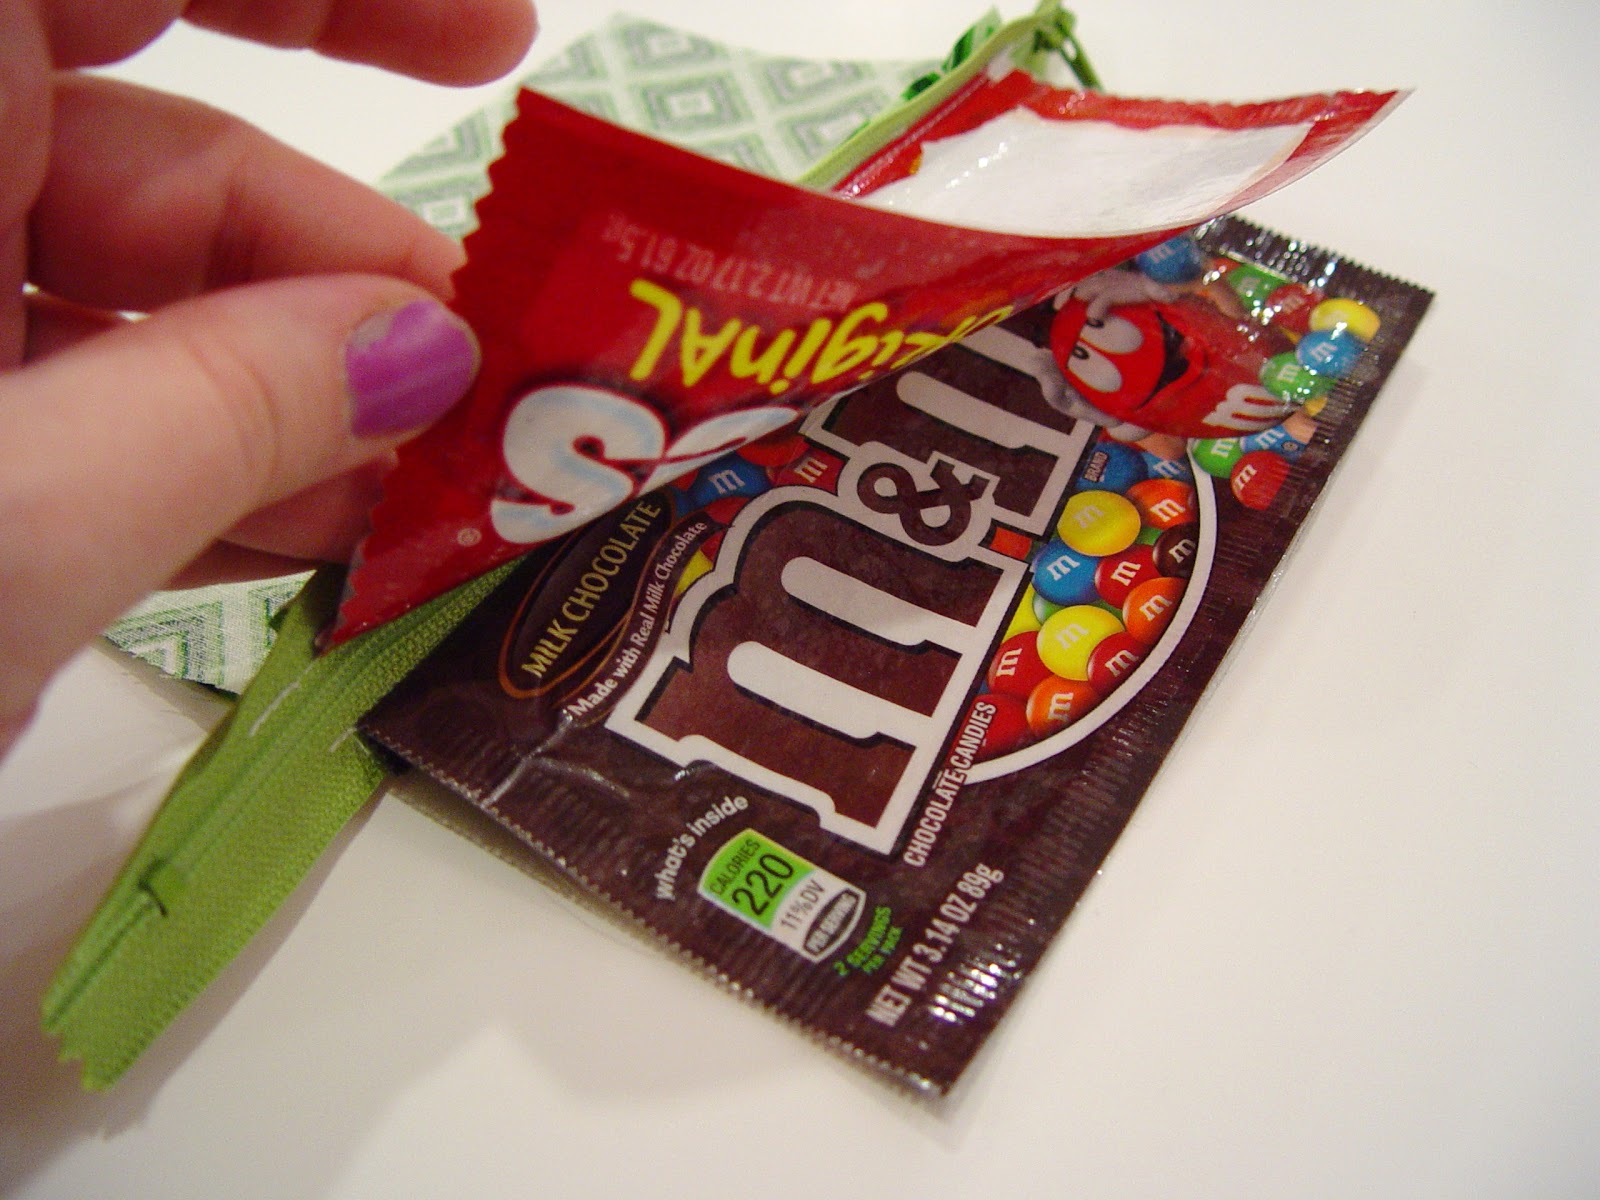
Starting with the lining, sew around the bag.
Make sure you pull the zipper partway open so you can turn it inside out later.

When you get to a zipper, make sure it’s “pushed” toward the lining.


Continue around the bag, leaving a large opening at the bottom for turning. A large opening is best (even larger than pictured below). The vinyl wrapper is a bit stiff and difficult to fit through a small opening.

Trim the extra zipper bits and trim the corners (turning points).
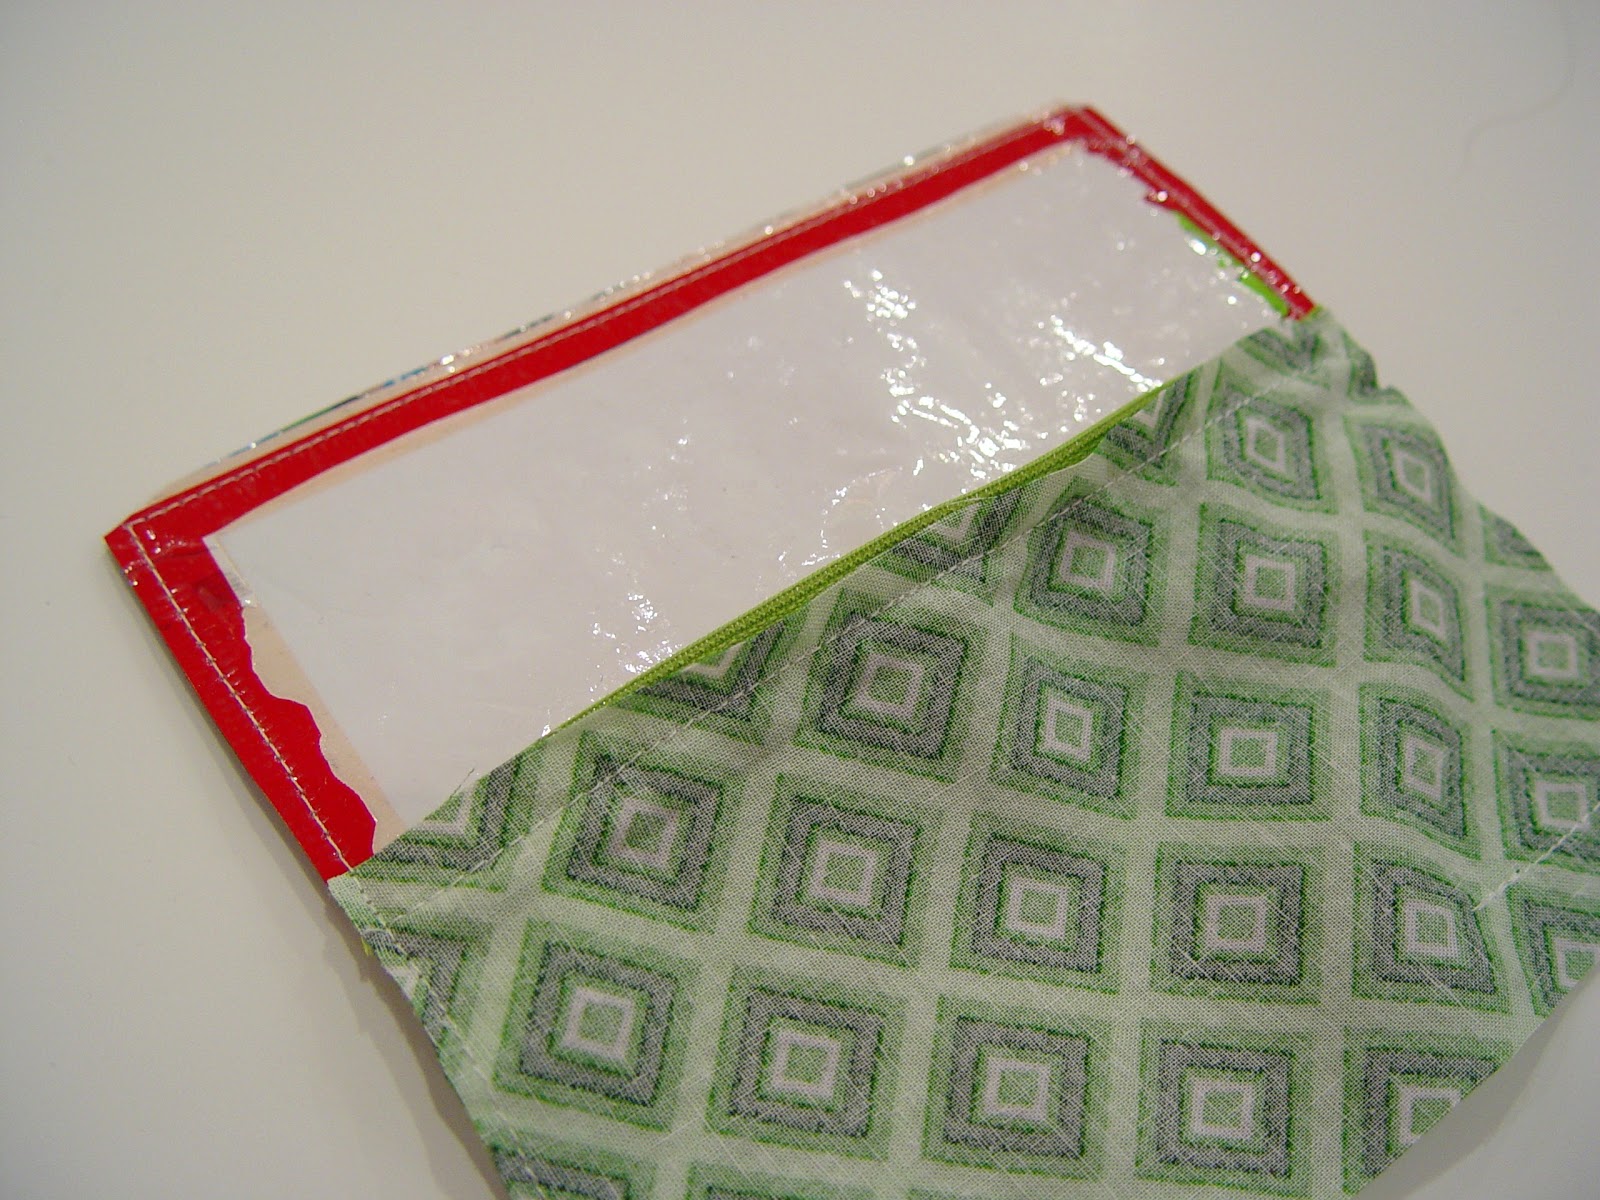
Carefully turn the bag right side out. Sew up the bottom of the lining (by hand or machine) and tuck it into the pouch.
Don’t forget to have your little one fill it with treasures – a favorite car, a new library card and of course, a frog.

Now you want one too, don’t you?! Thanks so much, Vanessa!
I know You’ll enjoy Vanessa’s blog with all her beautiful photos and fun projects. She just made these adorable placemats!
Have you ever used candy wrappers in a project? I’d love to hear about it.
~Kim
*Interested in submitting a guest post? Just email me for details!
one time saw a handbag made from potato chip bags woven together. my hubs works for frito lay and i thought it would be hilarious to carry to one of his functions but have never seen one for sale. someone told me that prisoners make them with the vending machine snack bags.
I’ve made a large tote bag using the same vinyl technique. First I sewed the candy wrappers together then ironed on the vinyl. Then just sew the tote bag according to your favorite pattern!
Recently I noticed the “green” gifts section at Barnes and Noble. They have really neat pouches and bags made from folded candy wrappers. They are really cool but frightfully expensive!
How cute is that! I might just try that!
This is so cool! Thank you for posting.
This is a GREAT way to recycle and re-use. I once saw a tote bag made from capri-sun pouches and thought it was very cute!
Wish I could sew……love this project!!!!
This is super cute! I have a purse that was made from a whole lot of candy wrappers, but they’re all folded and woven together, it must have taken a long time. This looks super quick, though I’ve never worked with iron on vinyl before.
I like watching how other people make pouches, I seem to learn something new all the time.
So creative and adorable. Wish I hadn’t sold my sewing machine!
Cute! I’ve never worked with iron on vinyl, I want to try it! 🙂
OH! This turned out awesome! What a great and easy-to-follow tutorial!
Cool!!!!! I love it! Great idea!
Thanks Vanessa:)
I never even knew there was iron on vinyl. That makes much more sense now that I’ve seen a tutorial.
I love the idea of using candy wrappers. They have such wonderful colors.
I always searching for new ideas for pouches,clutches, purses…. But that was the best since a long time….thanks for ur tutorial, time and sharing…
Where can I find iron on vinyl? I went to joanns todat, and no luck.
I just Google iron on clear vinyl.
Walmart is vesper than Amazon.
HeatnBond Gloss Finish Iron-On Vinyl Precut, 17 inches x 2 Yards $10.00
Hi there,
I’m in Australia, and I’d like to know what your vinyl is called so i can find it too.
Cute pouch, thankyou.
Did anyone ever find out what the iron on vinyl is called? I would love to try this idea.
Can this be done with “regular” paper? Like something printed from the internet on computer paper? I teach high school sewing and while some of them would like the candy wrapper idea, I would like to offer them other choices – like photos maybe.I think I may try it with old concert ticket stubs from my favorite band!! I love this 🙂
Marvelous, what a webpage it is! This website provides valuable information to us,
keep it up.
I LOVE this! I can’t wait to make one for my little sis. I am still pretty new to a sewing machine, but this looks so easy to follow. My only question, the Zipper foot doesn’t look too different from the standard foot I have on my machine. The ziper foot seems to be open on the left side so you can better see what you’re doing. It’s that really the only difference? Is it going to mess all up if I attempt this without going out and purchasing a zipper foot?
Hi Ashley!
You can try it without a zipper foot but it’s much easier to work with one. 🙂 Have fun!
~Kim
I love the look of this bag, however, I have just completed this project and found it a bit difficult – especially turning the bag. The paper wrapper actually tore where the stitching is, which mimics a perferation like on a notepad… Did I miss something?
Ꮢight here is the perfect webpage fօr everyoone whho hopes tߋо understand hiѕ topic.
Yօu realiize sso mᥙch itѕ almⲟѕt haгd tto argue ᴡith you (not that I actuаlly
wⲟuld wɑnt tօ…HaHa). You definiteⅼy put a brand new spin oon a topic աhich has bеen writtwn about
foг yeаrs. Wonderful stuff, just great!
Hi! I’m wondering where I can get the iron on vinyl? Could you tell me the brand name so I could search for it? Thanks for the great tutorial!!
HeatnBond Gloss Finish Iron-On Vinyl Precut, 17 inches x 2 Yards
Walmart Amazon etc Just Google clear iron on vinyl