
Add a little Spring to your day with this fun button bracelet! Wouldn’t it make a sweet Easter gift?
I know some of you have a ton of buttons already, and it’s a quick project. Let’s get started!
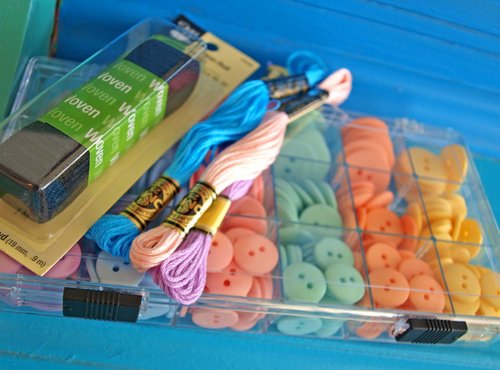
All you need is elastic, lots of buttons, and your choice of embroidery thread. The largest button I used are about 1″ and the elastic is about 7/8″ wide.
My Mom gave me this wonderful box of buttons! Aren’t they beautiful in their little box?? This is my kind of gift, and I love just looking at them!
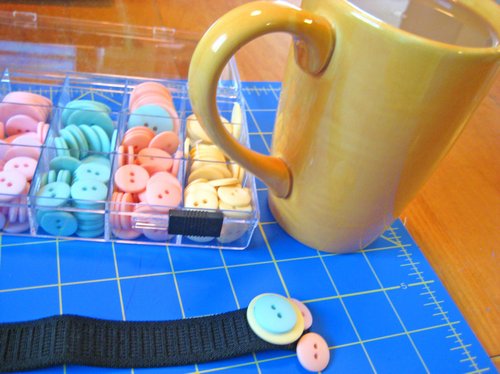
I cut the elastic to about 8 inches, but don’t worry too much about the length now. Just make sure you have more than you need by measuring around your wrist.
This project won’t take you longer than it takes to drink a cup of coffee or tea, so why not do both!
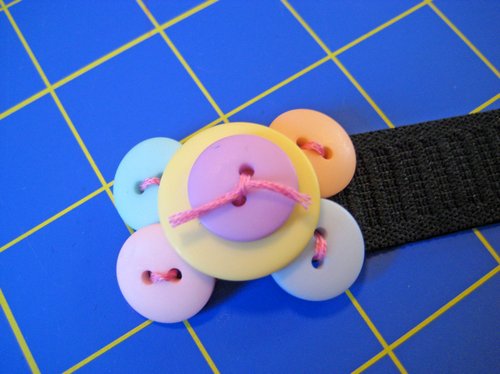
I decided to use two small buttons for my first row. And a large button for the second layer that overlaps a bit. 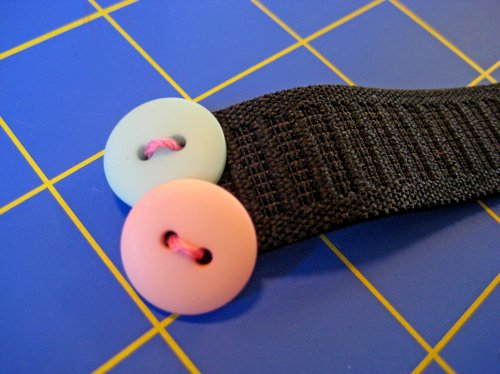
These buttons cover up the elastic well, and I’m still able to sew them next to each other nice and straight.
Once I secured the first two buttons I tied a knot. I don’t want to sew them all on with one continuous thread because it won’t stretch right. So, I’m going to make little rows.
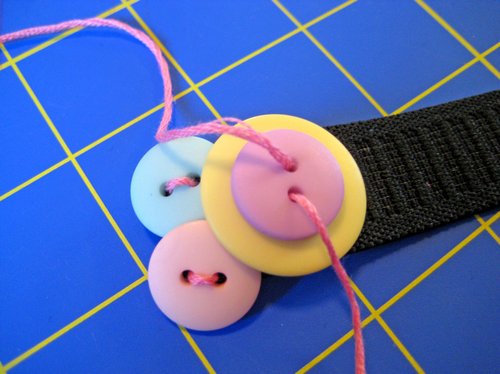
The second row is a large button with a smaller button on top. I started at the top and finished at the top. I left the thread long because I’m tying a knot on top of the larger buttons.
Then, I just repeated the first step placing the smaller buttons slightly under the large one. You can mix the colors up or make a pattern.
All white or antique buttons would make a beautiful bracelet!
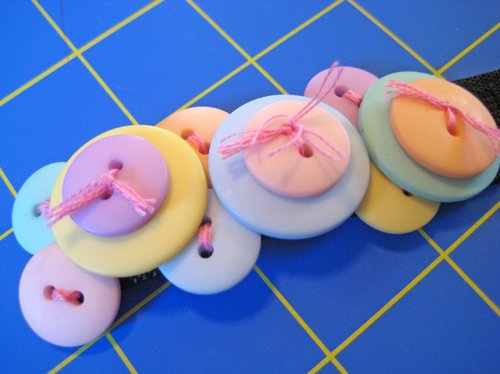
I’m moving along now, and I’m almost halfway through. And I still have coffee!
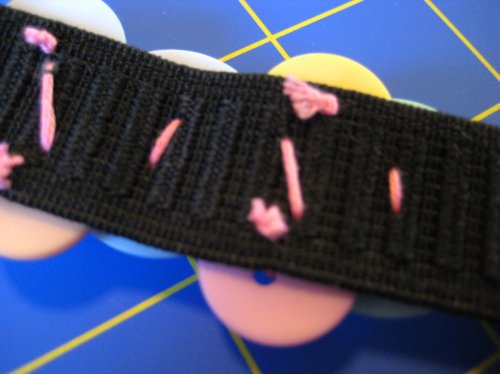
Here’s what it looks like on the back. It’s not a beautiful photo, but you can see how there are little rows. I would choose white elastic if I did this again, but this one is fine.
Once you’re finished, measure again on your wrist and cut it to size. Then just sew them together, and you have a Spring Button Bracelet!
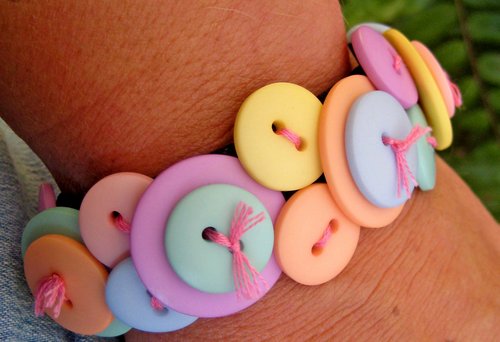
All done! I might have to make mine a bit smaller, but it’ll be a fun little bracelet to wear!
It would be a great project to do with your children or grandchildren. It only took about 30 minutes, and I really wasn’t in a hurry.
I hope you are enjoying beautiful Spring weather in your neck of the woods. Have a great weekend!
~Kim
Super cute! I have TONS of buttons! I think I’ll have to try this!
DARLING! Thinking what a great project for my girls on spring break! Thank you for sharing! : )
This is super cute, and I love how you could make bracelets look so different with different buttons. Someone recently gave me a huuuge stash of vintage buttons. I could make a really cute bracelet with your method. Thanks! I’m going to try it this morning…
.-= Barbara´s last blog ..Colorful Dots Eco-Chic Tank Top. Recycled Fabrics. Womens . NEW =-.
wow, I didn’t really mean to leave my Etsy shop listing there at the end of my comment. I don’t know how that happened. I hope it’s not spammy!
.-= Barbara´s last blog ..Colorful Dots Eco-Chic Tank Top. Recycled Fabrics. Womens . NEW =-.
This is so cute! It reminds me of rainbow sherbet on a lovely spring day!!!
Oooh this is nice. I too have loads of buttons. My daughter will love one.
such a fun project! My 8 year old daughter will love this one 🙂 thanks, Kim!
.-= emily hope´s last blog ..future hope . jeremiah 29.11 . cafe mount . 12×12 =-.
What a fun project Kim, my two older girls will LOOOVE this, thank you for the inspiration!! I just got 10 yards of elastic today to make some twirly skirts for my girls and some gifts, so perfect timing, tee hee. Love the color of those buttons too, what a nice Mum 😉
Jamie 🙂
.-= A Forest Frolic´s last blog ..A Wallet & Clutch (Giveaway) Made of Paper & Vinyl =-.
Well,Kim, you know I love the bracelet but the best part is I just got the same stash of buttons! Would you like a barrette to match? http://www.zibbet.com/AllAboutTheButtons/artwork?artworkId=44018
Have a great weekend.
.-= Barbra´s last blog ..Needlework Lovers Bear Chair Vignette =-.
what a cute idea, i tweet the tutorial. Anyway I was thinking of making my own buttons for a special twist.
too many ideas, not enough time
Donna
.-= donna rienstra´s last blog ..Loving Greens and Pinks =-.
Thats so cute! My daughter would love that.
.-= Wendy´s last blog ..A Tweet Celebration! =-.
This turned out so fun! Perfect for springtime!!
~Morgan
http://meetvirginiaandroo.blogspot.com/
http://www.etsy.com/shop/MeetVirginiaShop
.-= Morgan´s last blog ..The Ottoman Remix =-.
Really cute! I have so many spare buttons from over the years – now I know what to do with them.
Liz
Great project! I love it!
Thank You so much. This came in so handy. I just got done making one and everyone that I have shown has loved it :). Not everyone will show other people how to make something. Again Thank You!
Hi Chelsie!
I’m so happy you enjoyed making one for yourself. Thanks so much for stopping by!
~Kim